
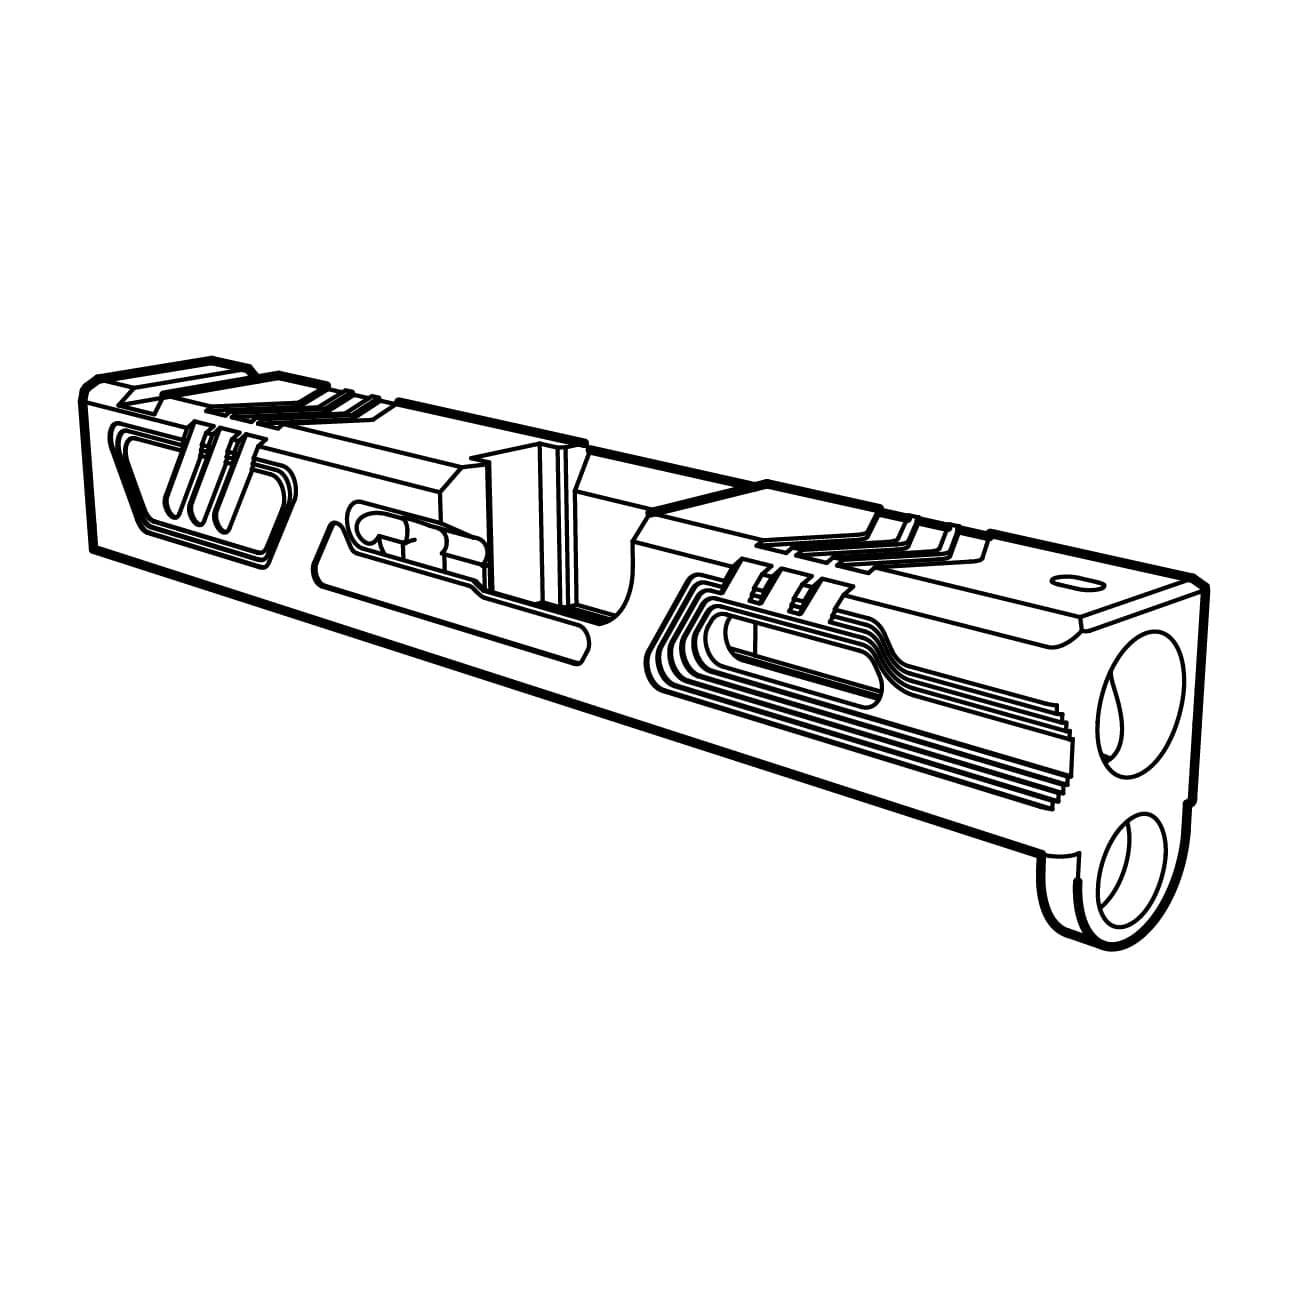

How to assemble a Glock slide
· First published on GunCuts.com
Building a Glock slide from parts looks like a lot the first time. It isn't: once you've done two or three, the whole job takes a few minutes.
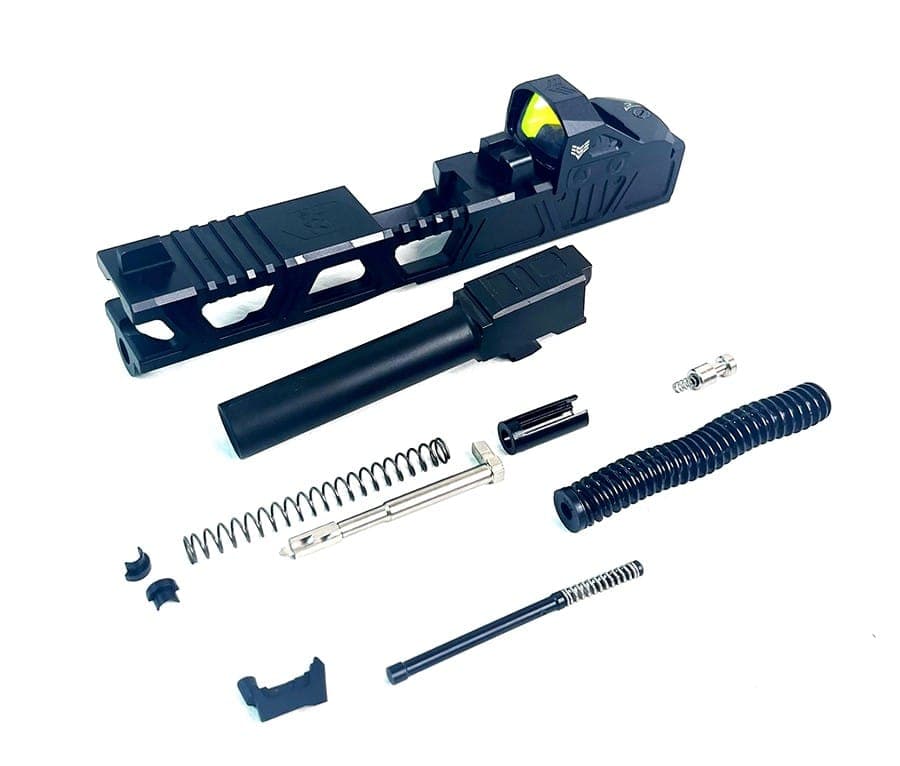
The order
- Fit the channel liner
- Put the firing pin assembly together
- Fit the safety plunger and its spring
- Put the firing pin assembly in the slide
- Fit the extractor
- Fit the extractor depressor plunger
- Put on the slide cover plate
- Put in the barrel
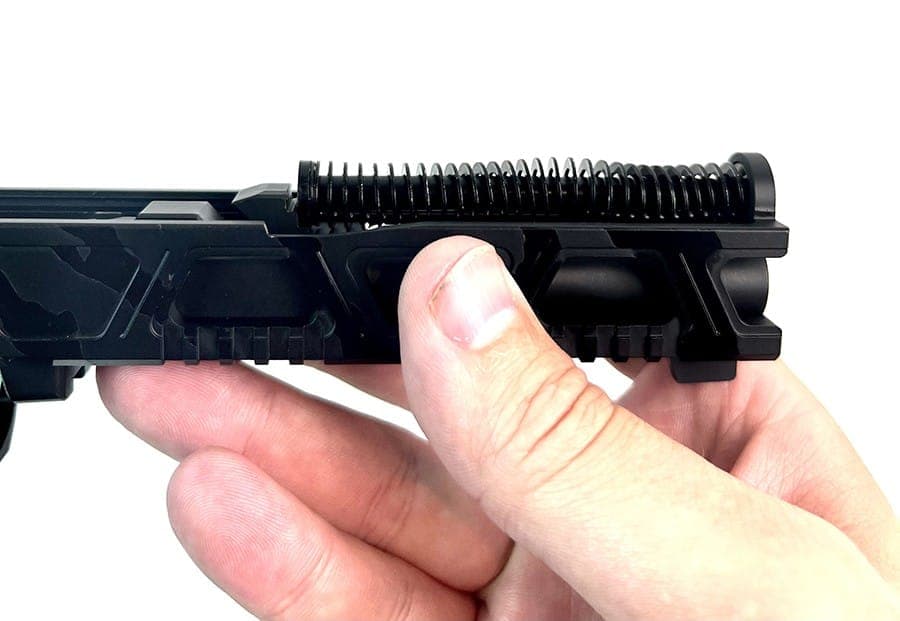
- Put in the guide rod and recoil spring
Our example is an aftermarket G19 Gen 3 slide, built with an aftermarket upper parts kit. The steps are the same for every Glock model; what changes is which parts kit you need.
- G19, G17 and G26 (9mm): the same major parts. Each needs its own guide rod to suit its barrel length.
- G23, G22, G27 and G35 (.40 / .357): the same major parts too, with an extractor made for the caliber.
- G21 (.45) and G20 (10mm): share most parts with the others but each takes its own extractor and safety plunger.
Fit the channel liner
The channel liner is a little plastic tube that keeps the firing pin spring from binding. Depending on the tolerances of the liner and the slide, it may go in snug or loose; either way it rarely affects function. Some people leave it out altogether, but that can cost you reliability.
Put the firing pin assembly together
It's four parts: the firing pin, the firing pin spring, the spacer sleeve and the spring cups.
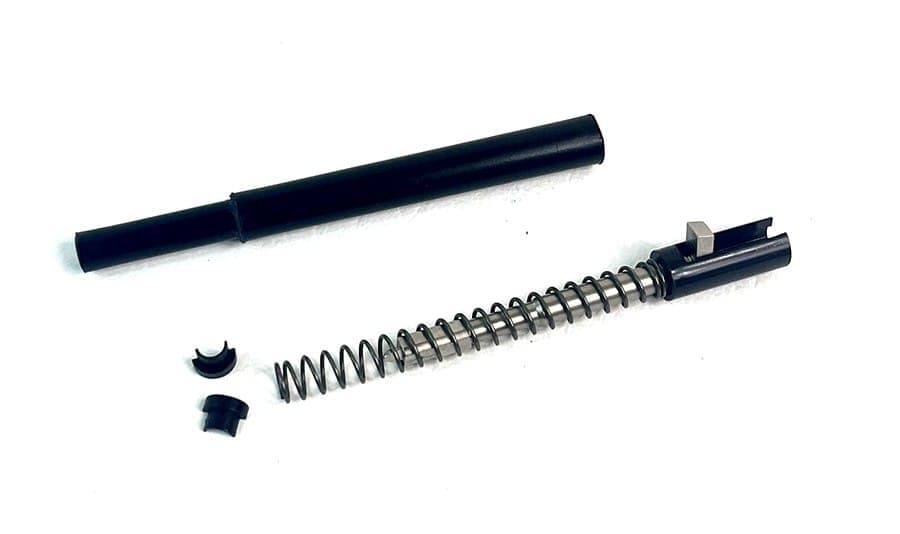
- Slip the spacer sleeve over the firing pin, then put the spring on.
- Tip: if your kit came with a channel liner tool, use it to compress the spring and hold it on the pin. Fitting the spring cups is usually the hardest part of the whole build, and this makes it far easier.
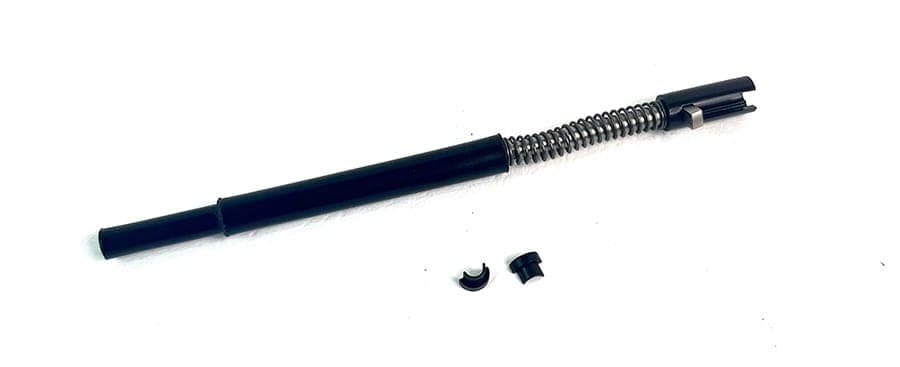
- Pull the spring back and drop in the cups. We find one at a time works best.
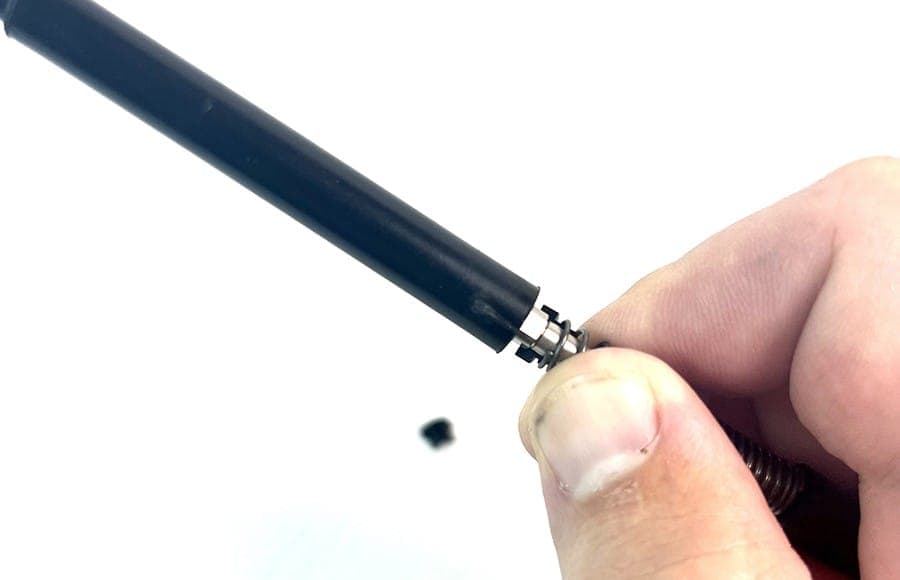
- Finished, it looks like this:
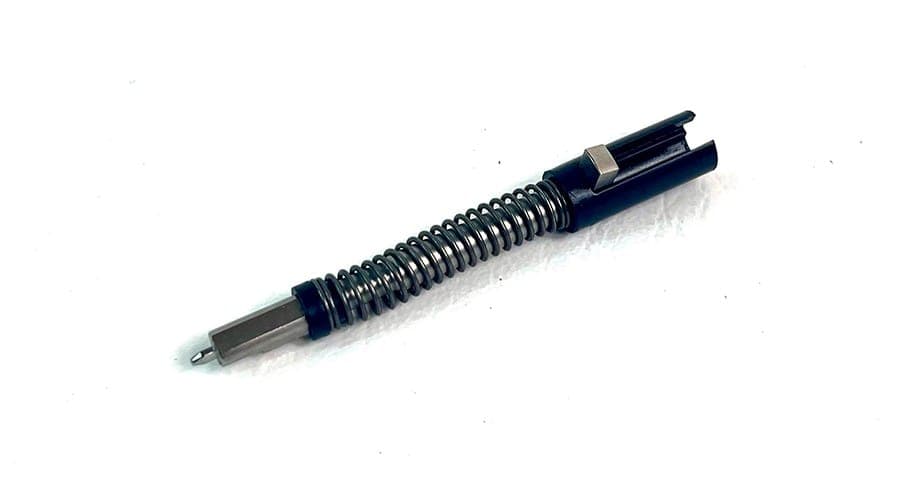
Fit the safety plunger and spring
Wipe a little lube on the sides of the plunger hole first. Keep the spring seated in the plunger as it goes in; holding the slide upright and feeding it in from below is often easiest.
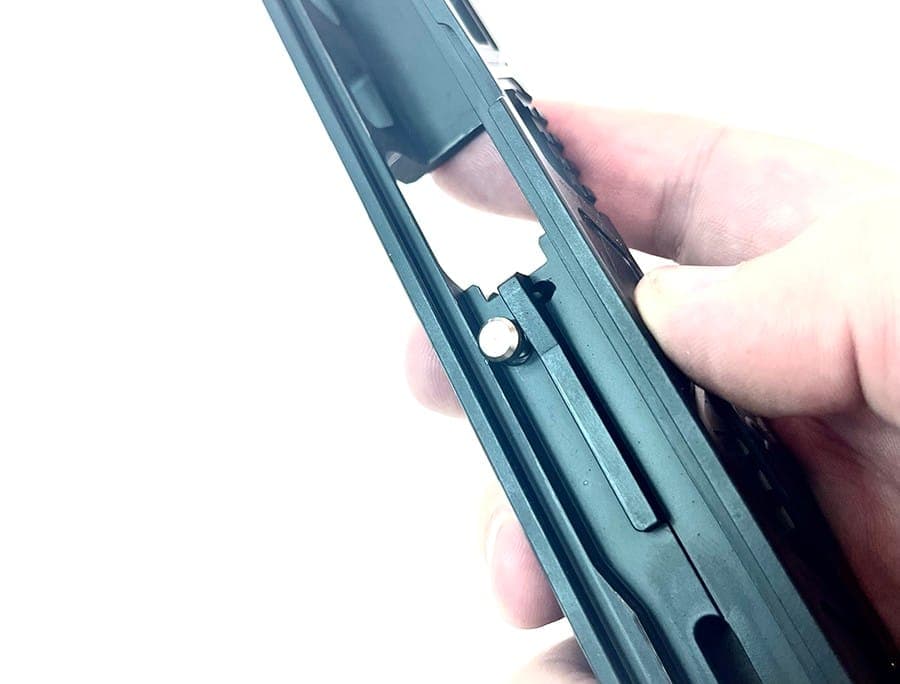
Put the firing pin assembly in the slide
- Slide it in pin first, striker catch lined up with the slide's channel.
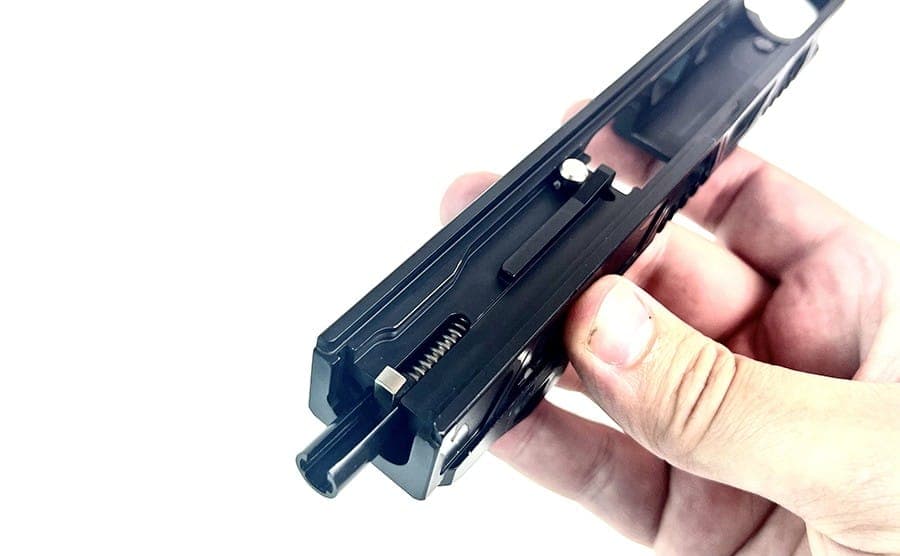
- Push the safety plunger in and the firing pin locks into place.
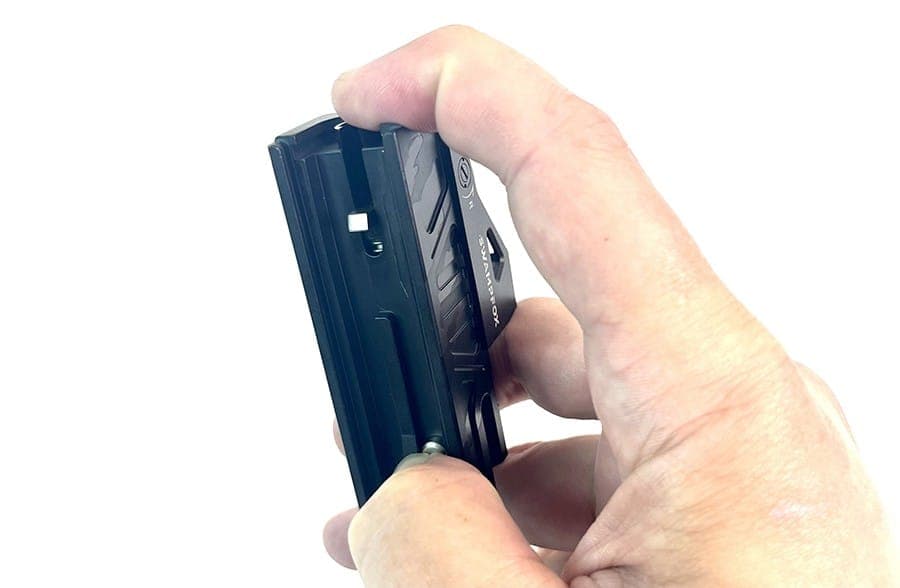
Fit the extractor
The extractor goes in from the side of the slide. As with the firing pin, press the safety plunger and the extractor slips in and locks.
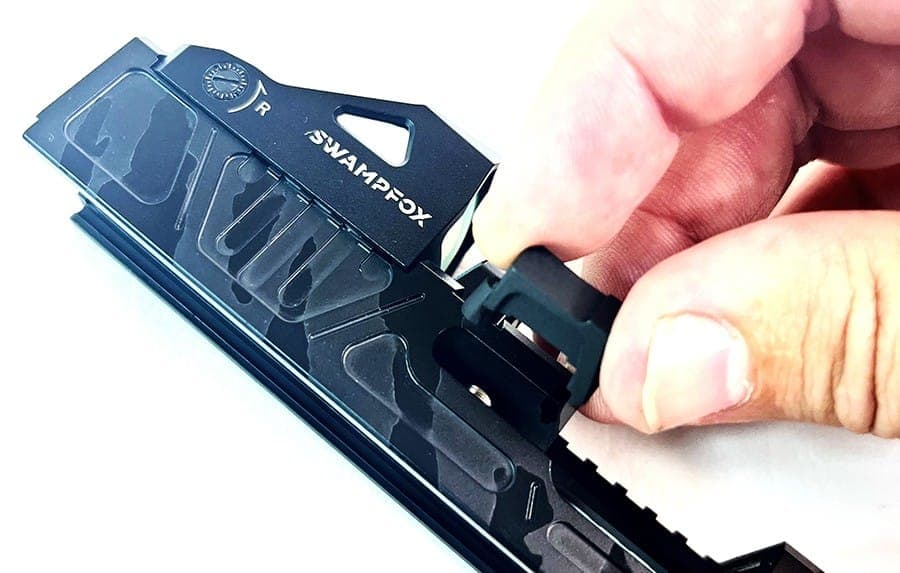
Fit the extractor depressor plunger
Spring end toward the back of the slide.
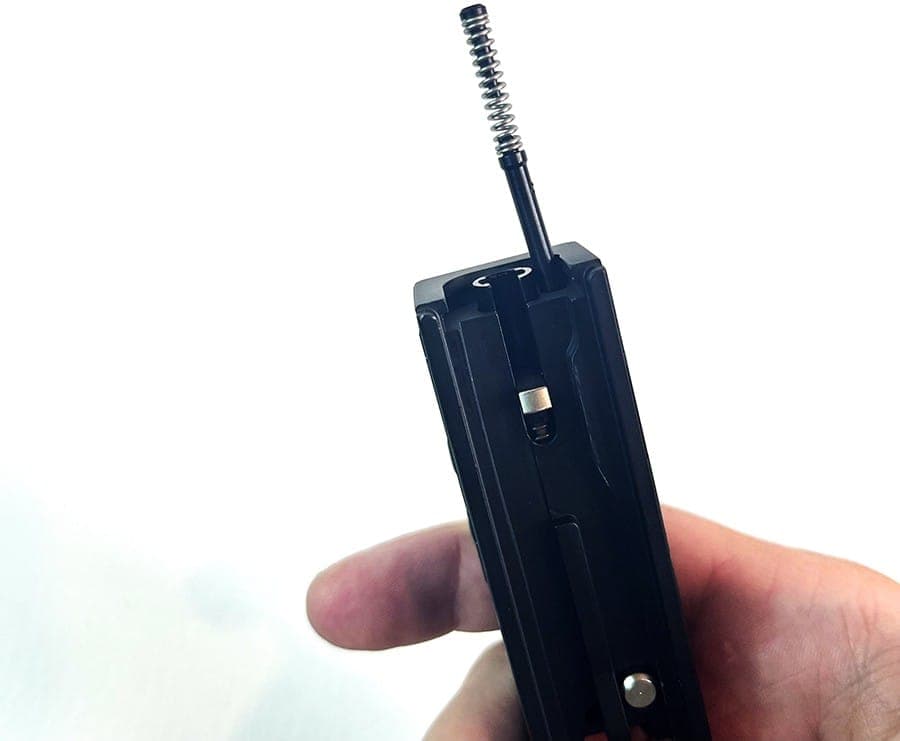
It holds the extractor down; its tip shows just behind the extractor, on the slide's flank.
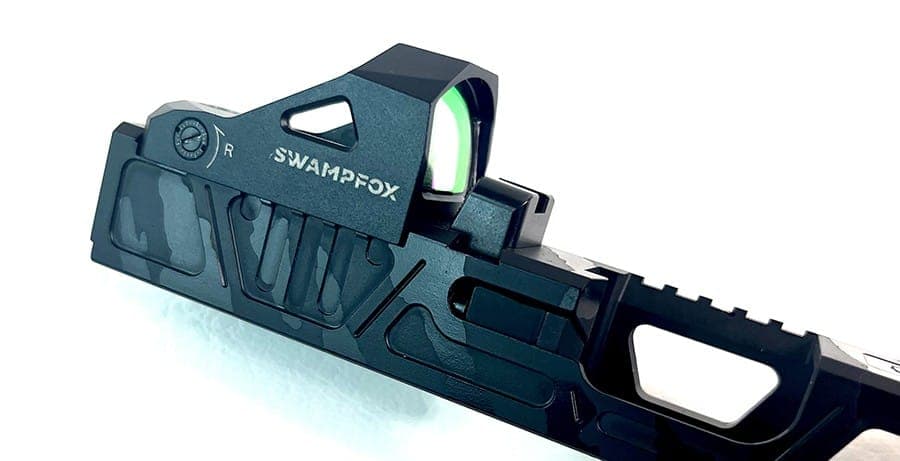
Put on the slide cover plate
You need a punch or another small flat-tipped tool. Push the spacer sleeve down with it and start the cover plate on, until it nears the depressor plunger.
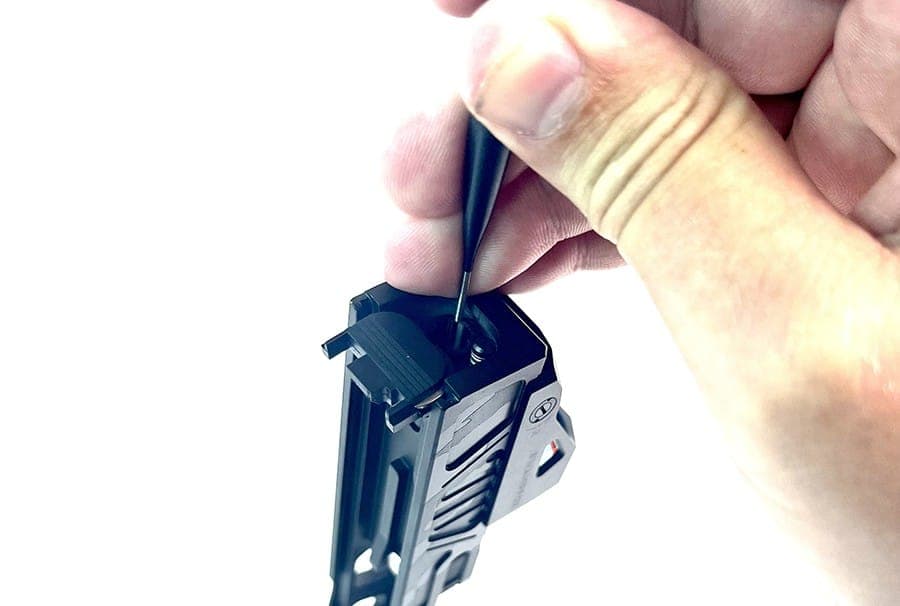
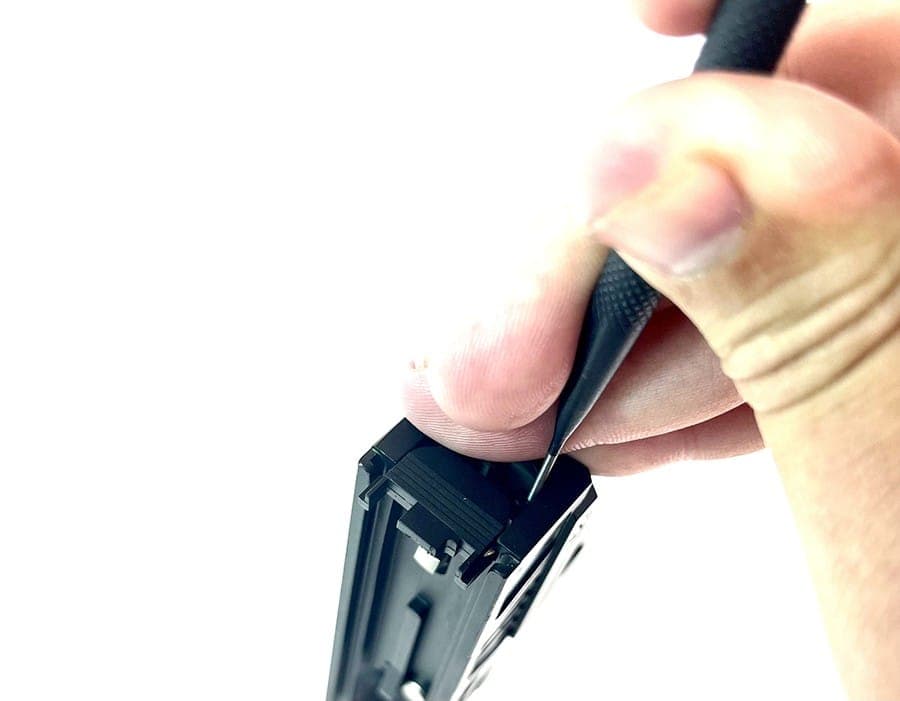
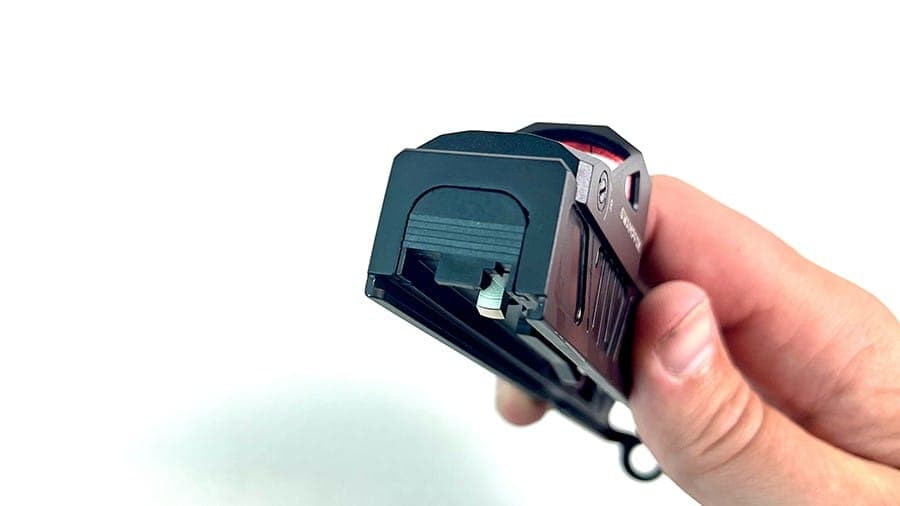
Now use that tool to push the plunger in, and the plate goes the rest of the way. It clicks home.
Put in the barrel
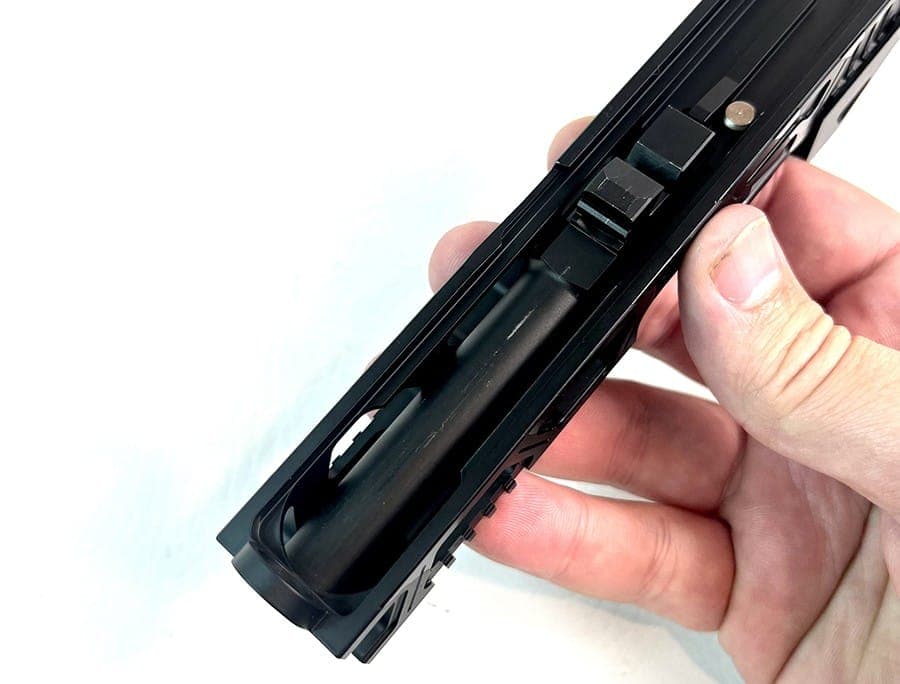
Lockup facing down.
Put in the guide rod and recoil spring
Seat the front of the guide rod in its pocket at the front of the slide. Compress the spring and lower the rod into place. There are two notches: it belongs in the bottom one.
A few more things
- A slide that's never been built needs sights too. Fit them yourself or have a gunsmith do it.
- With an RMR-cut slide that has an optic or a cover plate on it, the screws can reach into the depressor plunger tube. You may have to take a screw out to finish the build, and sometimes shorten it so everything works.
Any of our slides can come as a complete slide with every part fitted; we assemble it for you. Building it yourself? Get one of our upper parts kits, such as the Glock 19 upper parts kit.
Working on a build?
Slides, barrels and parts kits, all matched to the pistol they fit.